Apple iPads
iPad Enrollment
Step 1: Select your language
Turn on your device Press and hold the device's power button until you see the Apple logo. You'll then see "Hello" in many languages. Follow the steps to get started. If you're blind or have low vision, you can turn on VoiceOver or Zoom from the Hello screen.
Select your The next screen is the default and secondary keyboard layouts . Here is where you specify what language you want as your keyboard. You can change this at any time.

Step 2: Choose your Region
When asked, choose your language. Then tap your country or region. This affects how information looks on your device, including date, time, contacts, and more.

Step 3: Quick Start
Tap on Set up Manually.

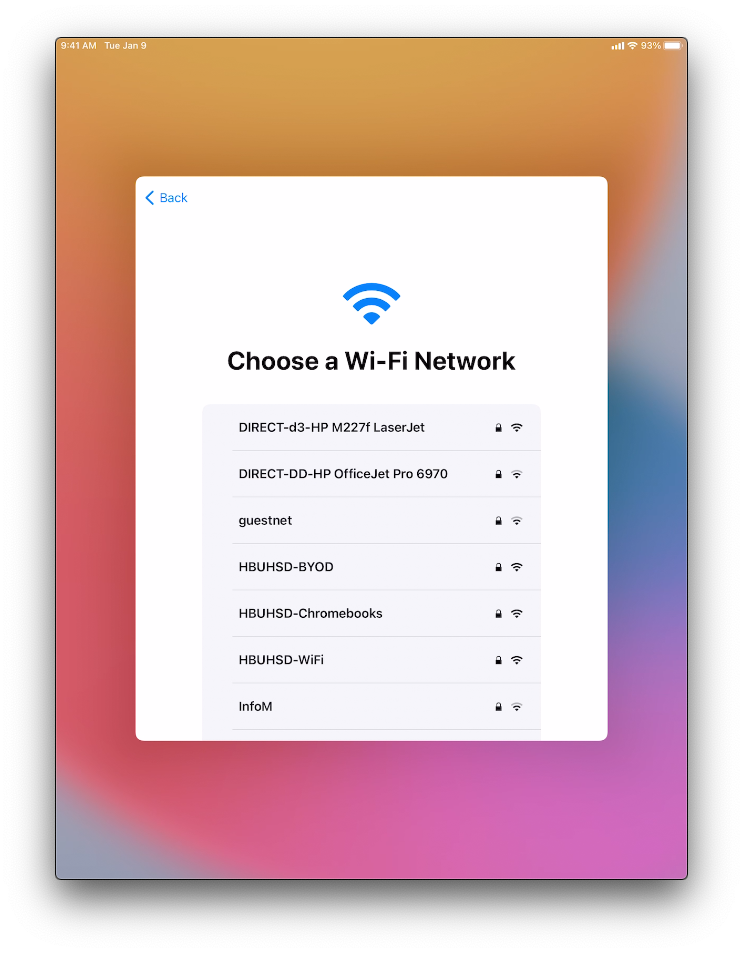
Step 4: Join a Network
Join a network that has internet access. Location does not matter. If you are on campus, you can connect to:
WiFi Name: HBUHSD-BYOD
WiFi Password: hbuhSD#education!
Step 5: Remote Management
The Device will automatically recognize that the device belongs to HBUHSD. This will get your iPad setup automatically. Click Next on the top right.

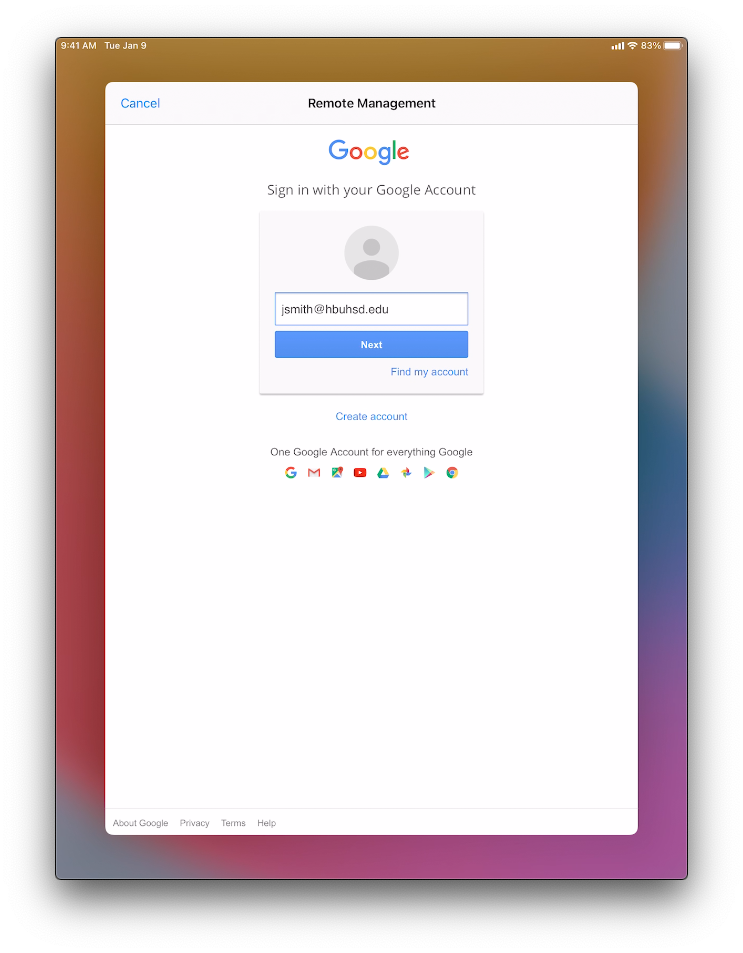
Step 6: Sign into your HBUHSD Google Account
On the Sign in with Google screen, type your HBUHSD Google Account. An example would be jsmith@hbuhsd.edu.
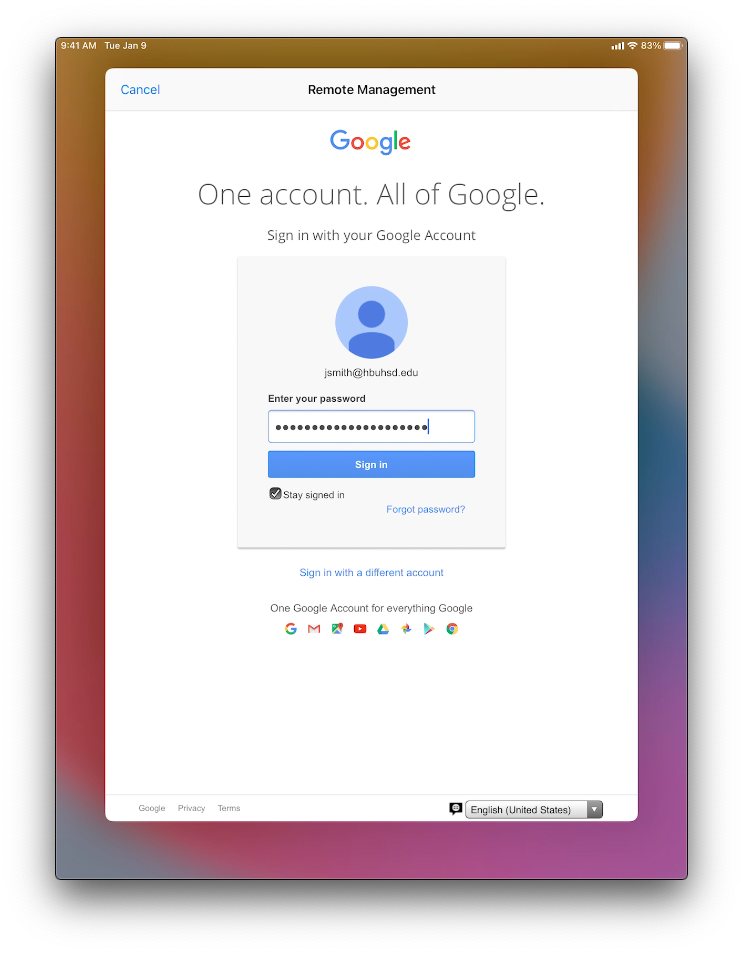
Enter your Gmail Password.
Step 7: Provisioning
Your iPad will now start configuring everything. Please allow it to grab the iPad's assigned configuration.

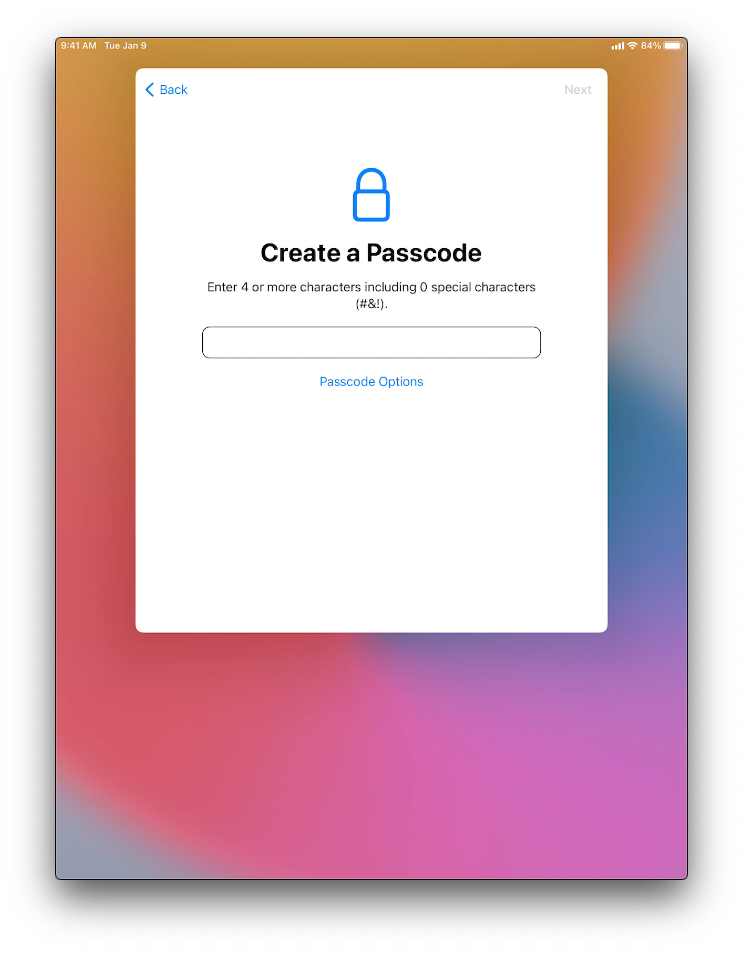
Step 8: Create a Passcode
Create a passcode for your device. It is recommended to not use something easy to guess such as 0000 or 1234.
Step 9: Finalizing
The essential apps will be automatically downloaded onto the device. Your iPad should now be ready to go. Please use the next section to connect your iCloud account for more storage.

Signing into iCloud
Managed Apple IDs are a new feature provided by Apple to educational institutions, and provides 200 GB of free iCloud storage for everyone (meaning you can keep your entire device backed up automatically at no charge to you or the district).
Please visit this page if you have previously created an AppleID using your HBUHSD email and have not completed the migration yet. You should have received an email from Apple or dcao@hbuhsd.edu with instructions on how to migrate your account.
To get started, you will need your @hbuhsd.edu Microsoft Credentials. If you have been using a Macbook/iMac throughout your stay here at HBUHSD, chances are that you have never used these credentials before. Please contact ishelp@hbuhsd.edu for a password reset.
Step 1: Settings
Open the Settings app. Tap Sign in to your device.

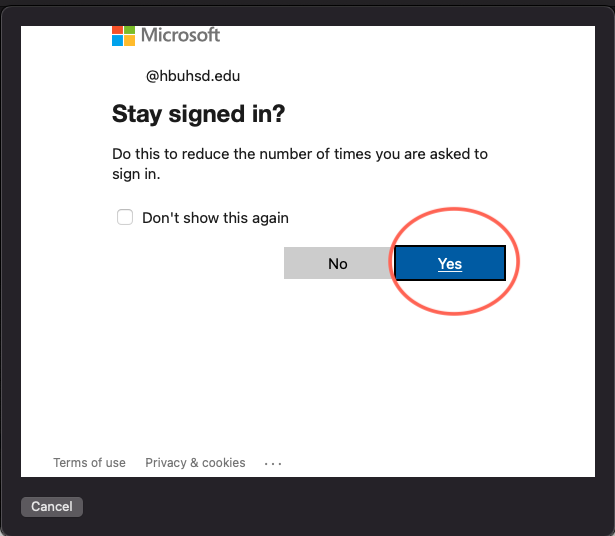
Step 2: Enter your Microsoft HBUHSD credentials.
Enter your Apple ID and password.
If prompted, enter the six-digit verification code sent to your trusted device or phone number and complete sign in.

It will look similar to something to this.

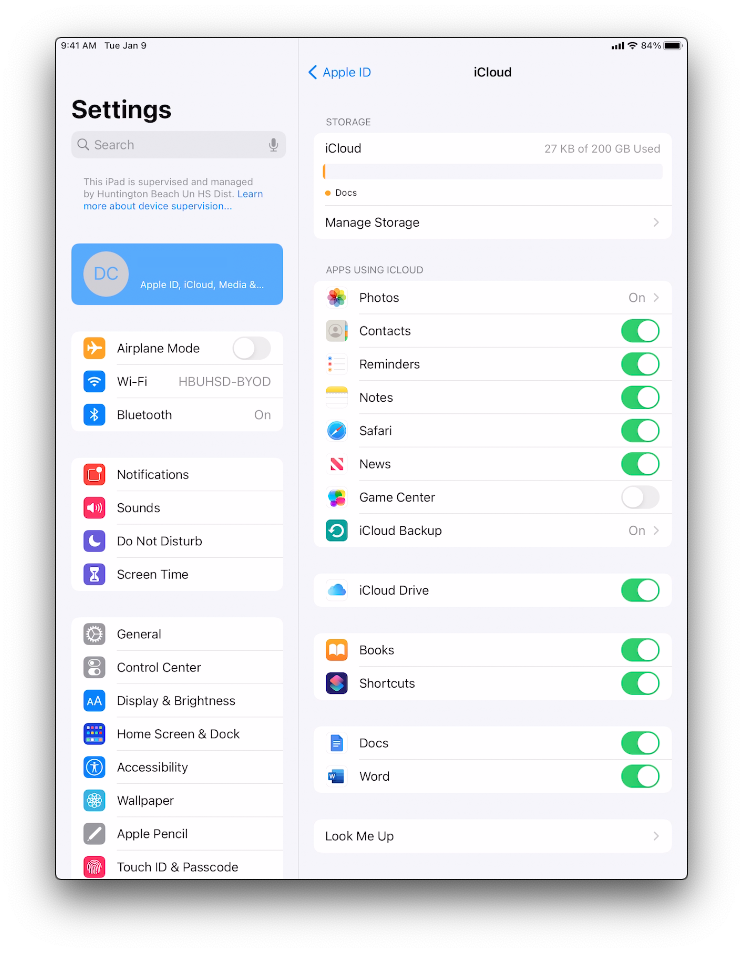
Step 3: Verify that you have 200GB of iCloud Storage.
To see more details about your storage usage, open the Settings app on an iPhone, iPad, or iPod touch; System Preferences on a Mac; or the iCloud for Windows app on a Windows PC. You can see how much iCloud storage you have and how much is available. You can view high-level storage information in Account Settings on iCloud.com.
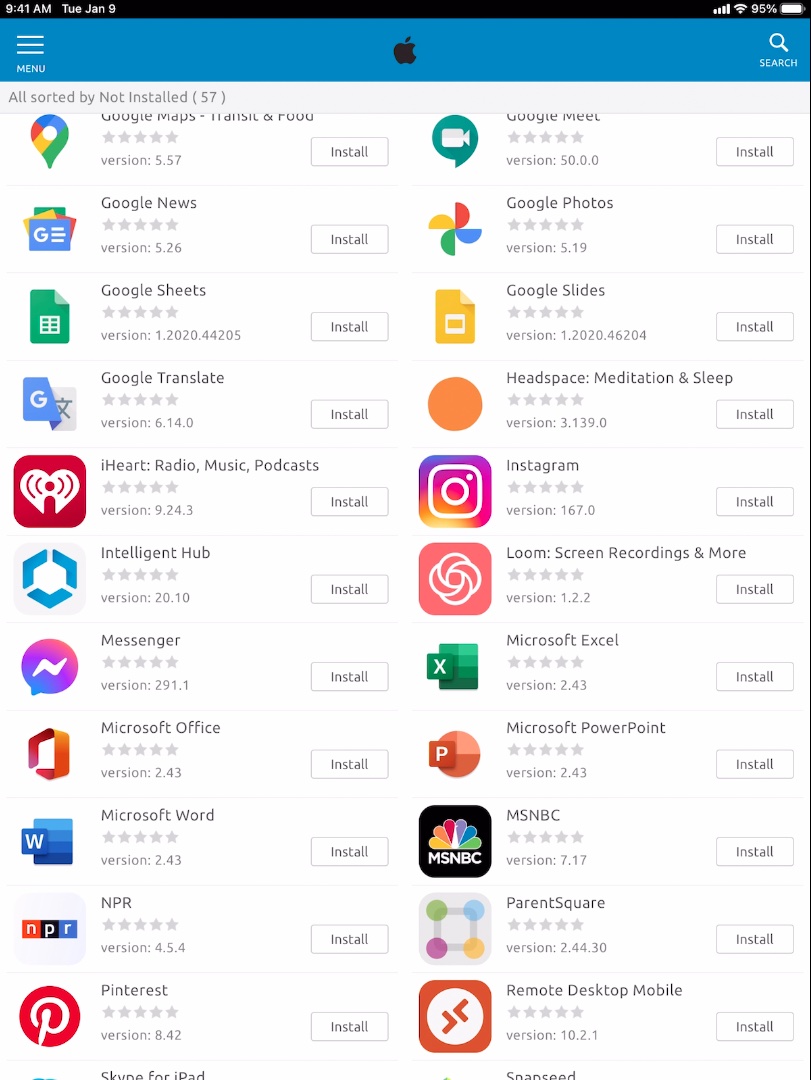
HBUHSD App Store
Managed Apple IDs cannot be used to download apps or purchase content from the iTunes store, or subscribe to Apple Music. It also restricts access to Facetime, Messages, and other applications that are not appropriate for a school environment. However, you will be able to download additional apps that have been curated by HBUHSD using the "HBUHSD Apps" app. If you come across an app that you want to try or think would be helpful, you are welcome to submit a request by clicking HERE.
If you need to restore some previously purchased apps such as Notability, please refer HERE. Technically, you can sign into a normal AppleID and download whatever apps you want from the App Store normally but, we want everyone to take advantage of the free iCloud storage that Apple has provided us.
Setting up your Accessories
Please watch the embed video for instructions on how to setup your teacher bundle.
Video Timestamp: 0:25
Smart Keyboard Folio User Guide